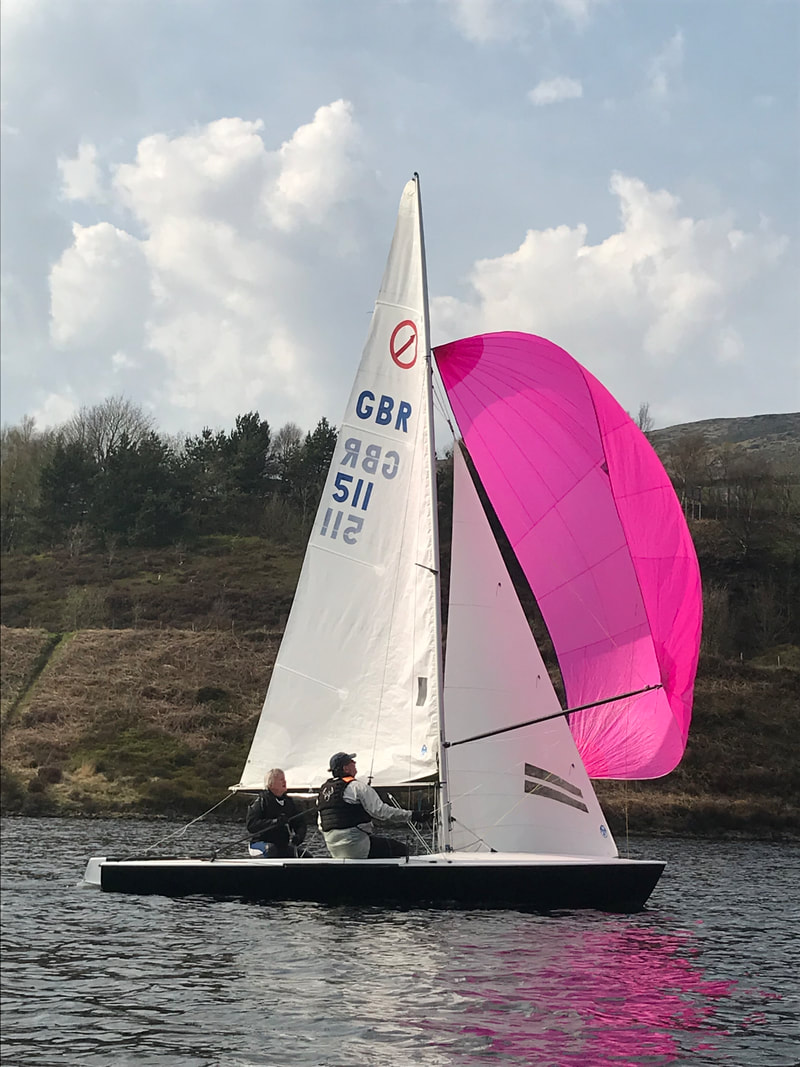
Javelin 511 restoration
|
My story start to finish by Andrew Martin, February 2018
This note has been a long time in its gestation as was the refurbishment of my Javelin. The refurb was due to take a couple of years but due to unforeseen circumstances with my work and other things that happened, this refurbishment lasted over 5 years. Builder: Paul Wright Mouldings Year built: 1983 Price when new: £4,000 Second-hand bought for £500+ (I think) |
|
|
The Space Frame
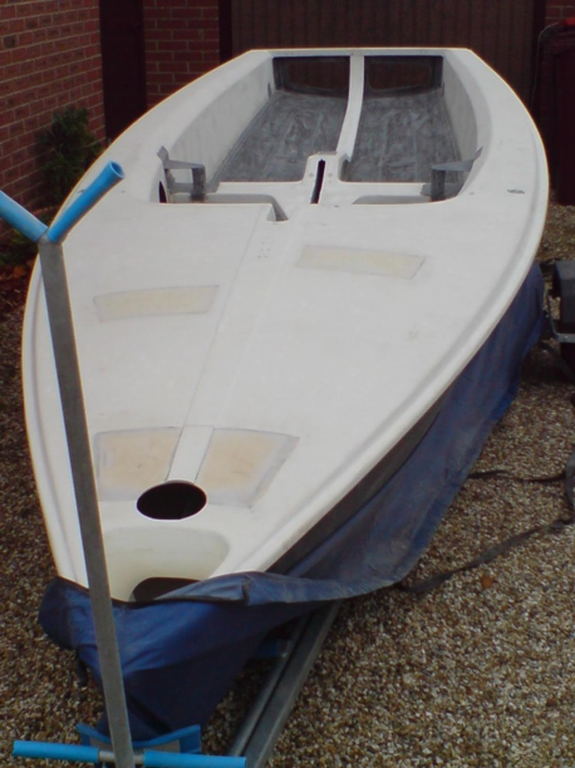
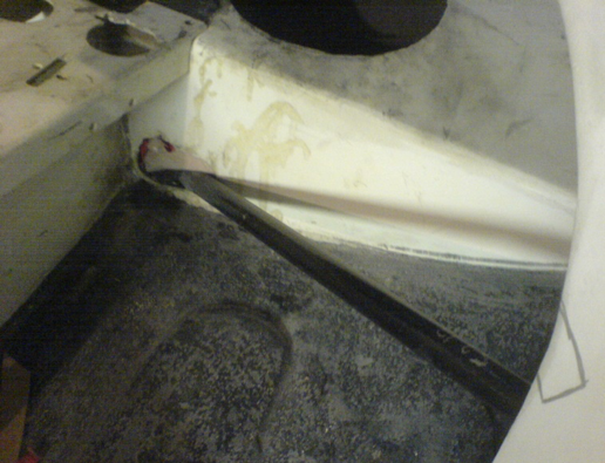
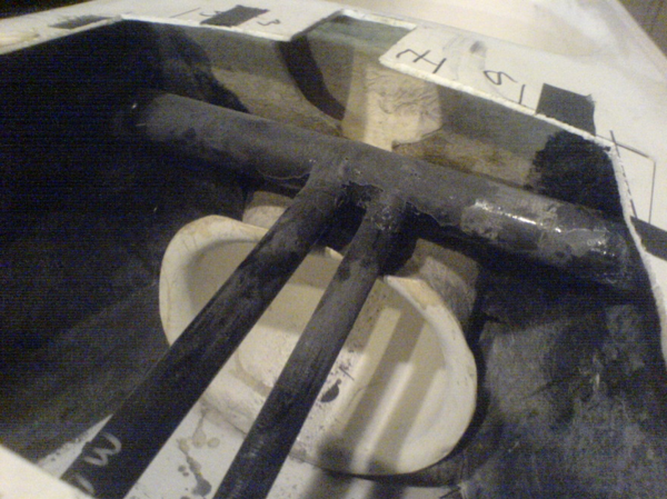
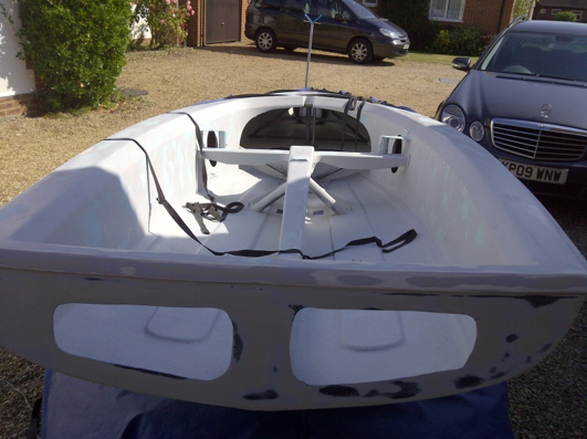
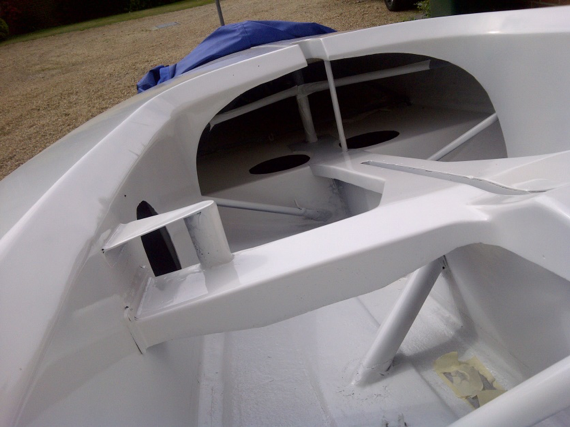
The holes in the foredeck were used to create space for "clutz" to work on the frame as follows. The tube piercing the front tank
These tubes pierce both the front and side tanks. In order to have working access you will notice that the inspection hatches in the bow and side tanks are large.
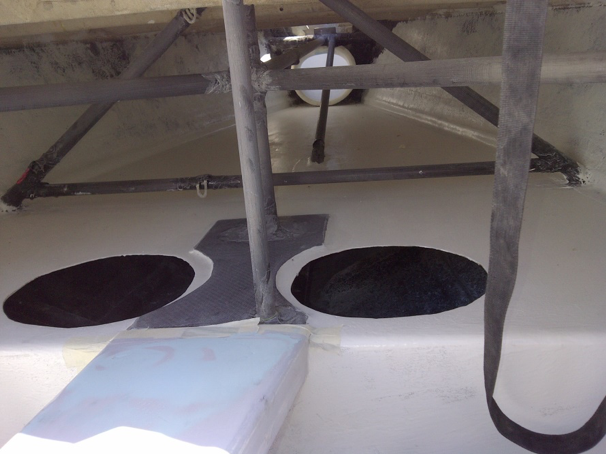
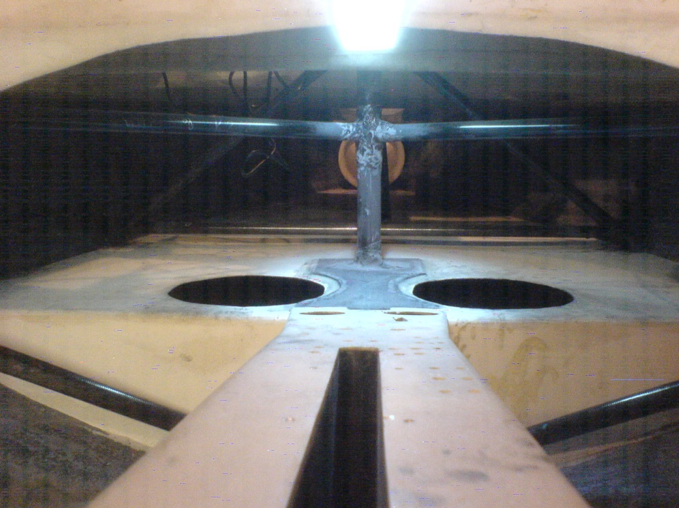
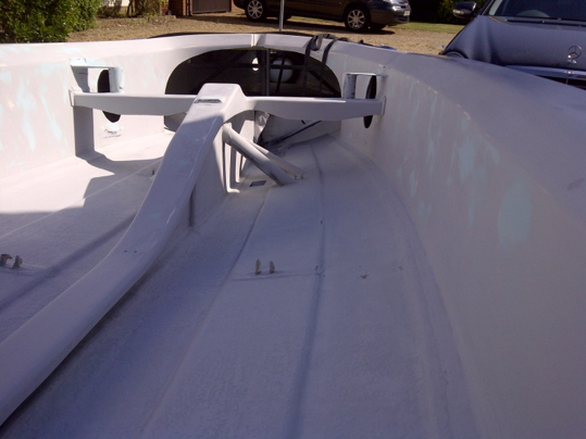
The above picture shows the frame below the foredeck.
|
I stripped her of all her old kit leaving a bare hull and decks – unfortunately, I forgot to take pictures of her in this state.
I went on the Javelin websites where there was a huge amount of information from both the Dutch and UK websites. Arendt had refurbed an old boat - and those in the UK who had set out how to put in place a space frame. I made the monumental decision to go for a space frame but reckoned that given the age of the boat and the fact that I did not have heavy power tools that a carbon frame option would make sense. Thus from here, the die was cast. The main steps were :
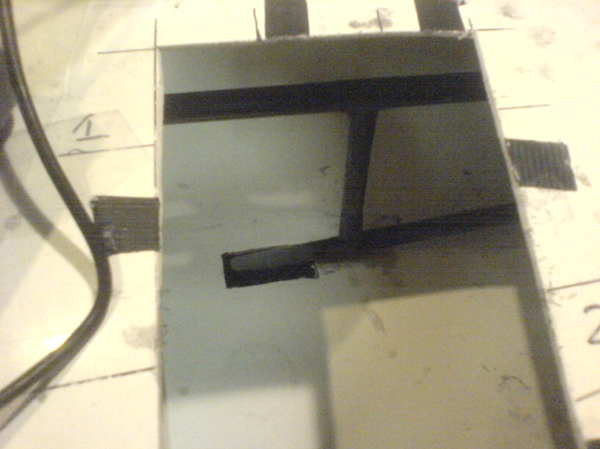
The bow hole showing the cross beam to which the genoa furler was attached - bespoke SeaSure fitting required from a guy who made SeaSure deck fittings in the local marina.
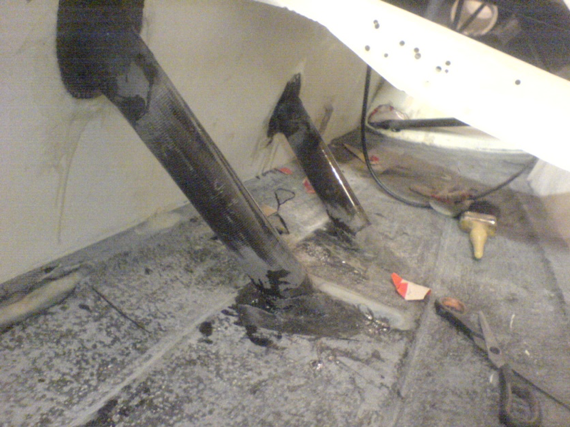
The two down tubes – the left one in the picture goes horizontally to a vertical tube just in front of the mast with the other (right hand one) piercing the front tank and going to 1 of 2 carbon tubes underneath the mast step. Here you can see the down tube in front of the mast to which the tube from the bow is attached.
The other 2 tubes go out to where the shroud take off points are and pierce the side tanks. Please don’t ask about the gymnastics that got them through the tanks and the tanks sealed – NOTE that when the side tank inspection hatch covers are removed you can hear the air escape (must have sealed the tanks well – both the bow and side tanks were subjected to sealing with fibre glass and epoxy tape). I did however add a couple of add-ons – centreboard supports from spare carbon tubes see above in the rough.
|
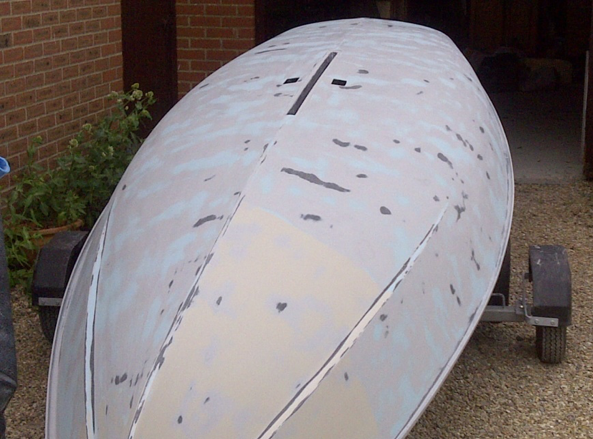
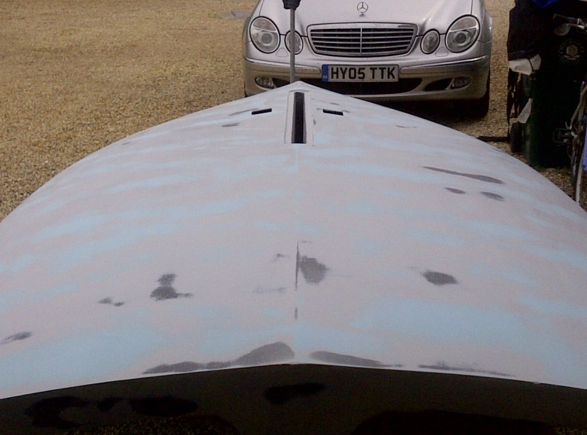
With the frame installed - a minor miracle – the refurb was then a tedious sanding off of the gel coat. Filling with an easy sand epoxy filler – nautic blue - sanding and filling again and then spraying.
With the frame installed - a minor miracle – the refurb was then a tedious sanding off of the gel coat. Filling with an easy sand epoxy filler – nautic blue - sanding and filling again and then spraying.
Before
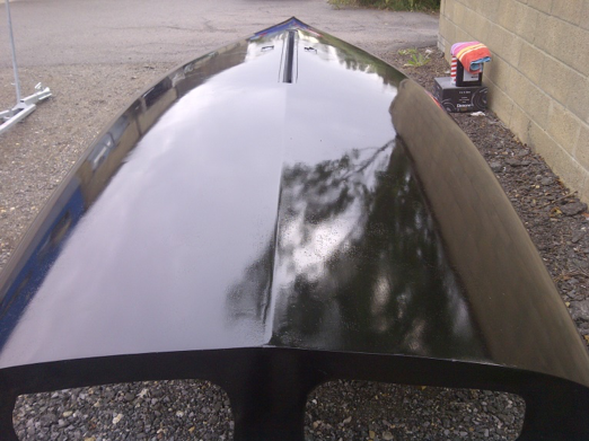
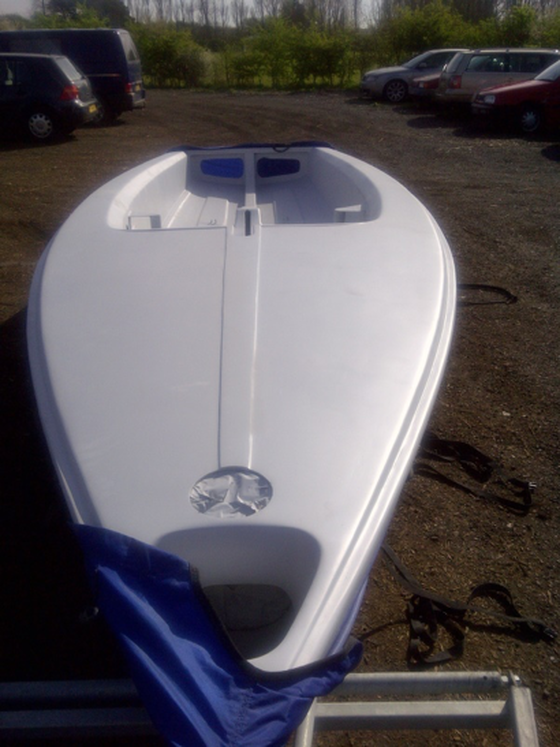
After
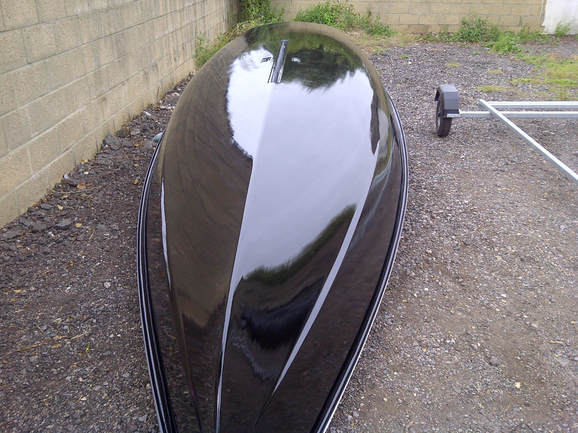
The hull was sprayed by a local car repair shop – cheap - as Durepox is an automotive finish despite being used by America’s Cup boats.
The boat had 2 coats of thinned colour and 2 of clear applied wet on wet and it is as hard as ….. should be the same as an epoxy primer.
The boat had 2 coats of thinned colour and 2 of clear applied wet on wet and it is as hard as ….. should be the same as an epoxy primer.
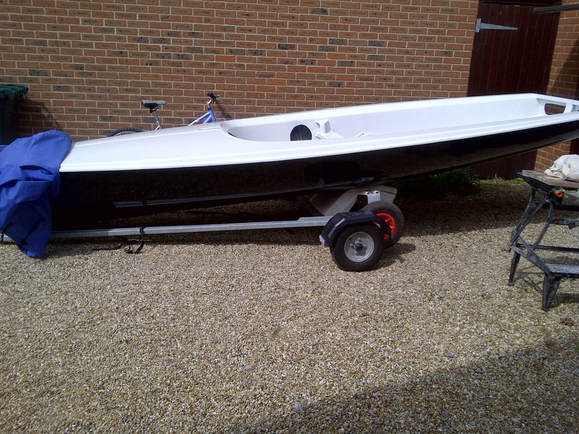
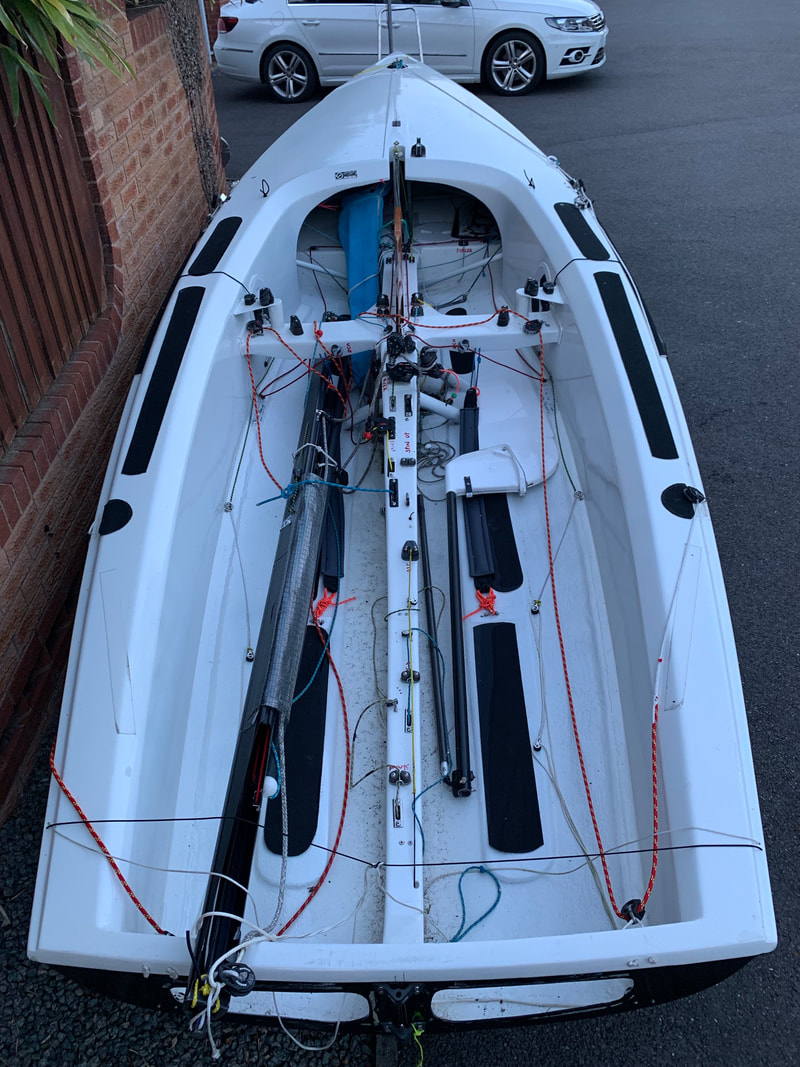
Ready to sail

